Autoblog may receive a share from purchases made via links on this page. Pricing and availability are subject to change.
Plugging and patching a tire leak should never be your first option for repair, but if you’re going to do it, we can help make sure you’re pointed in the right direction. Here’s a list of everything you’ll need to pull off the repair as well as a step-by-step video on how to do it.
Hanperal 24Pcs Rubber Tire Repair Patch/Plug Combo – $18.88 at Amazon.com

This patch/plug combo is currently sitting at a 4.3 out of 5 rating with 122 ratings on Amazon. According to the manufacturer, the plug diameter is 0.4cm/0.15inch; and the diameter of the patch is 3.6cm/1.4inch. It’s a combination unit that doesn’t require any extra wire-plugging tool. You can pick up the combo right here for just $18.88.
IRWIN VISE-GRIP Long Nose Pliers – $8.90 (49% off) at Amazon.com

Most of us have a decent pair of pliers at home, but if you don’t, these are as good as any. They’re made of steel and feature “ProTouch” grips that can help reduce hand fatigue while using the tool. They also feature an induction hardened cutting edge to help it stay sharp for longer. You can pick them up right here.
Hydraulic Trolley Jack Car Lift with 3,000 lbs capacity – $35.28 (12% off) at Amazon.com
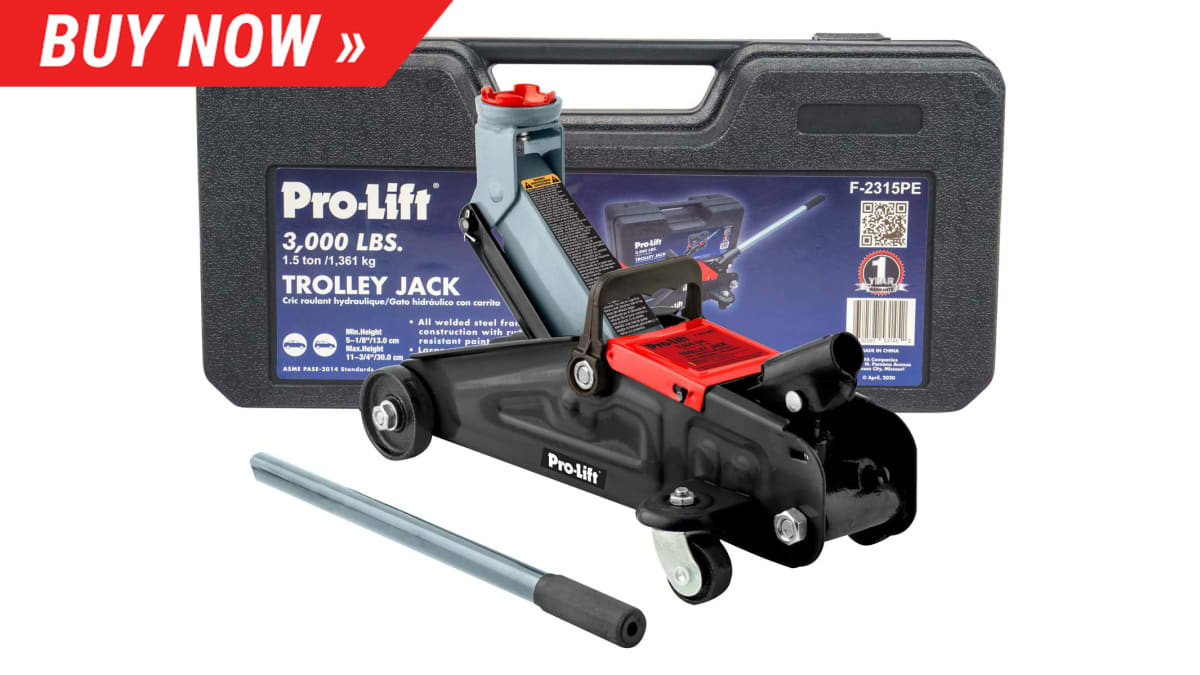
You’re going to have a tough time making any kind of tire repairs without a jack. There are a lot of directions you can go with a trolley jack, but this one is an affordable, popular option. It has a 3,000 lbs weight capacity and a maximum height of 12″. If you’re looking to pick one up, you can do that right here.
AmazonBasics Steel Jack Auto Stand, 2 Ton Capacity – $24.99 at Amazon.com
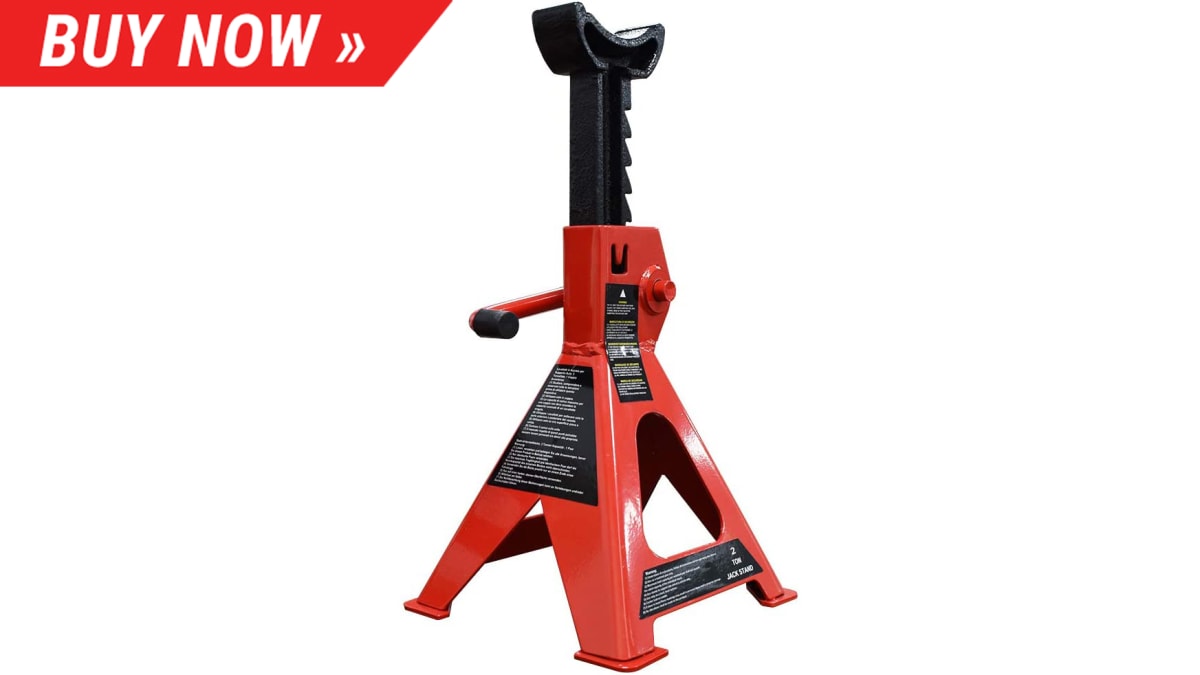
Once you’ve got your car jacked up, you’ll need a jack stand to place underneath it. This deal is a pair of stands with 2-ton capacity and feature a durable steel frame with rustproof coating. Amazon reviewer Aaron gave the product a 5 out of 5 stars and had this to say in a short, but sweet review of the product, “Worked great. Used four to jack up my 911 to change the oil. Didn’t die, would recommend.” You can learn more about the product right here.
14″ Heavy Duty Universal Lug Wrench, 4-Way Cross Wrench – $11.87 at Amazon.com

This lug wrench is a 14″ 4-way cross-wrench design. The body length can help provide some extra leverage on tricky lug nuts. It’s chrome-plated and the manufacturer claims that it’s corrosion-resistant. There’s not a whole lot to say about this one. It’s a wrench! If you’re in the market for it, you can pick one up right here.
Radians Clear Safety Glasses, Scratch-Resistant, Wraparound, One Size – $1.74 (27% off) at Amazon.com
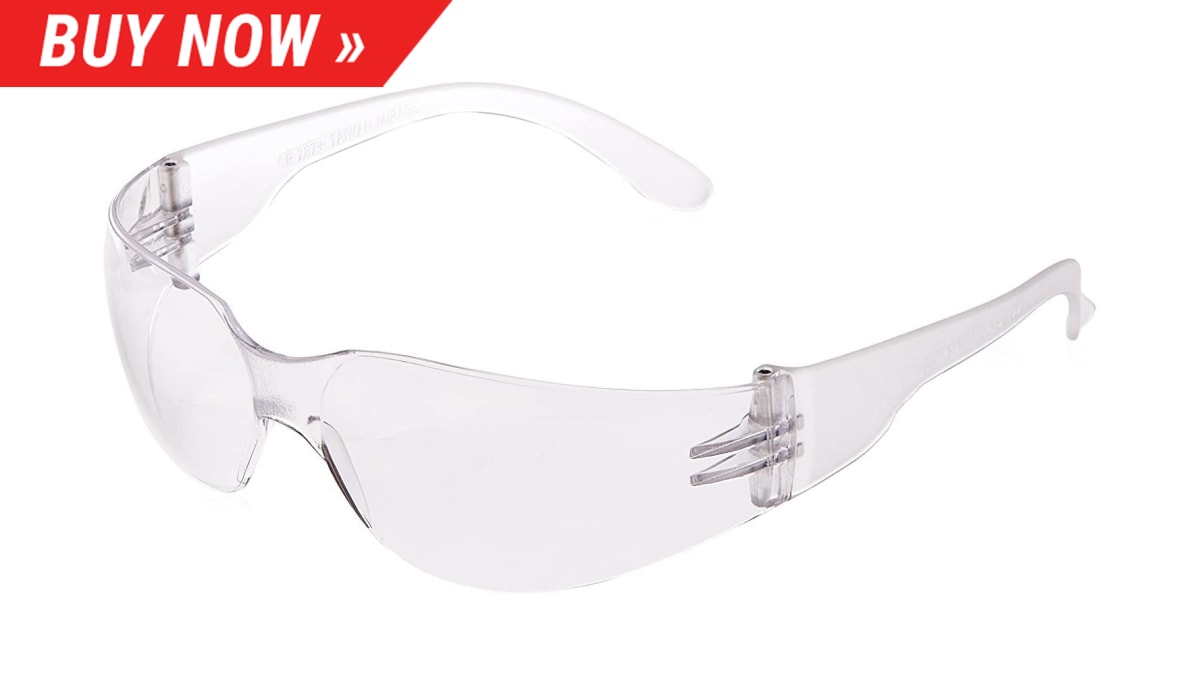
Brand isn’t super important when it comes to safety goggles. What’s important is keeping your eyes protected! Don’t be the person who is too cool for safety gear. This pair costs less than $2, so there’s really no excuse. You can learn more about this pair of safety glasses here.
Industrial Black Nitrile Gloves, Box of 100 – $33.99
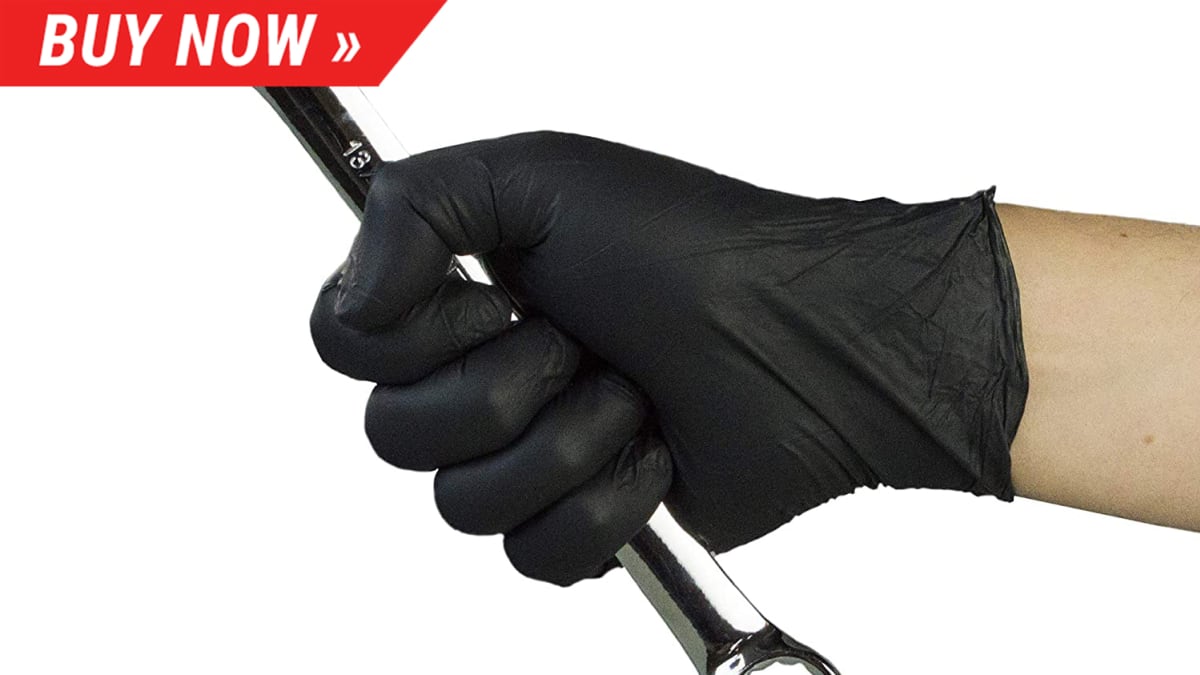
Do you already have a pair of gloves? Do they keep your hands clean? If you answered yes, then great! You can skip this one and use what you have. If you need some new gloves, though, you can grab this affordable pack of 100 right here.
Instructions [Video Transcript]:
[00:00:00] [Larry] Do you have a tire that constantly needs air? Well stop procrastinating and fix that leak. Here are the tools you’ll need for the job: a tire plug kit, soapy water, pliers, jack stand, jack, lug nut wrench, gloves and glasses. I’m Larry Kosilla, pro detailer and trainer, for the last fifteen years. But when it comes to what’s under the hood, I’m the student. Follow me as experts teach me how to diagnose, fix, and modify cars on Autoblog’s Wrenched. As you know there’s nothing more annoying than a leaky
[00:00:30] tire like this one here. The only thing that I can think of is a spray sealant. Is this something you would use? – The professional way to fix this tire would be with a patch and plug. – [Larry] Nails and screws easily puncture rubber tread and are typically the culprit of these types of slow leaks. The NHTSA advises that a proper repair requires both a plug and a patch and should only be used in select cases where this is a suitable fix. To help you understand the process better, we’re gonna show you how it’s done. But keep in mind this is not a repair that should be
[00:01:00] attempted at home. Always consult your manual for the proper vehicle jack points on the frame. Before lifting the car, loosen the lug nuts while the tire is on the ground, to prevent the wheel from spinning in the air. But, do not remove them altogether at this point. Now, lift the car and place the jack stands in the proper locations and release the weight of the jack slowly, until the car is resting on the stand itself. For extra safety, leave the floor jack in place as your backup.
[00:01:30] Then, remove the lugs and, of course, the wheel. As you roll the wheel, look for any obvious metal or even a nail. Sometimes they’re hidden or obscured by the rubber itself. So spray a bottle of soapy water along the tread. The leaky air will cause the soapy water to bubble, letting you know where the object or puncture might be. In our example, the screw is fairly obvious, but marking the area with chalk can be helpful, especially if it’s a smaller leak. If an object is present, remove it with pliers
[00:02:00] if it’s a nail or some other metal piece, or simply unscrew it if it happens to be a screw. Be sure to wear safety glasses and a thick glove as tiny metal objects may be forced upward by the air as they are dislodged, so be careful. Tire plug kits can be found at any auto store and typically contain a reamer, a plug install kit, and plenty of plugs. With the object out of the tread, immediately plunge the reamer into the hole, while minimizing the amount of air being released. This can be difficult to move in and out. The goal is to use the abrasive edges of the reamer
[00:02:30] to clean up the hole prior to forcing the plug material in that tight space. After several passes, leave the reamer in the hole and prepare the plug tool by sliding the plug into the opened end. Once the plug’s in place, remove the reamer and plunge the plug tool into the air hole. Again, this tends to require a lot of downward force, so standing over the tire can help your leverage. Once the plug penetrates the tread, quickly pull the tool vertically out to set the plug in place.
[00:03:00] If extra plug material happens to stick out, or above the tread, you can simply trim it with your snippers. With the tire off the rim, the mechanic can inspect the tire from the inside for any damage that may not have been apparent before. Now, with access to the inside of the tire, the mechanic carefully razor blades the excess plug material, then, lightly sands down the area so that the patch can lay flush against the rubber to ensure
[00:03:30] a long-lasting repair. Next, a chemical cement is thoroughly applied to the sanded area and the patches protective cover removed before installing over the tire plug. Finally, a deburring tool is used to spread the glue evenly under the patch to promote the best adhesion before re-installing the tire back on the rim. (rock music) Afterwards, test for leaks once again.
[00:04:00] If you see no bubbles, you’re good to go. But it’s always a smart idea to keep an extra eye on the tire in the upcoming days, just to be sure. Sometimes, during the soapy water test, a leak is found on the sidewall and not the tread. Unfortunately, these issues are not recommended for plug repair and will most likely require a new tire or even a new rim if a pothole has bent the metal significantly. Either way, a plug may not be used, and a visit to your local mechanic is required. Your tires on the only thing touching the road
[00:04:30] and a slow leak is not gonna disappear on its own. Diagnose the issue quickly to get back on the road safely. For more how-to car repair videos, visit autoblog.com/wrenched. I’m Larry Kosilla from Ammonyc.com. As always, thanks for watching.


