Autoblog may receive a share from purchases made via links on this page. Pricing and availability is subject to change.
If you’ve never changed your own oil before, there’s no better time than now to start. It’s really not all that hard, and it can be an extremely rewarding experience. The video above features AMMO’s Larry Kosilla as he goes through the step-by-step process, addressing common mistakes and detailing exactly what you’ll need to take the project from start to finish. We’ve also included links to anything you might need for the job, below. Of course, always keep in mind that each car is different, which means the process may vary slightly from vehicle to vehicle. Always be sure to consult your manual before doing any type of work on your car.
Motor Oil
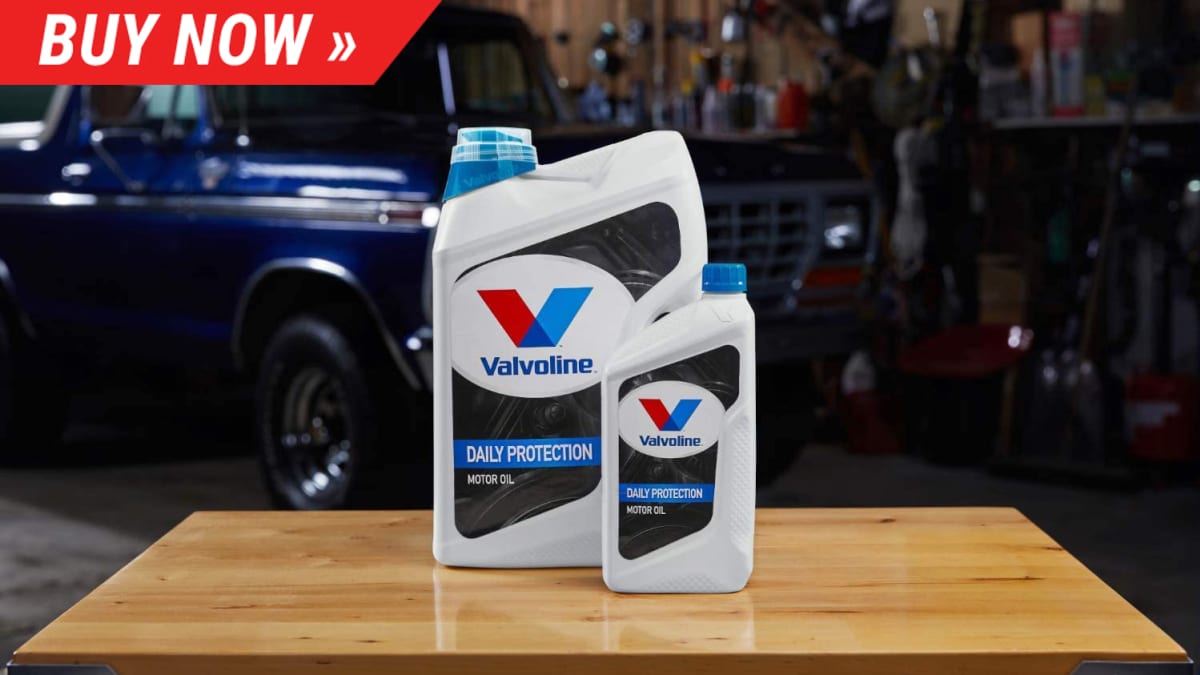
Motor oil is something that is going to be individual to each situation. It’s essential to check your owner’s manual to see what viscosity and kind of oil you’ll need (and how much of it). Once you figure it out, you can either pick some up from your local auto parts store or order it online. You can find a handful of options here.
Oil Filter
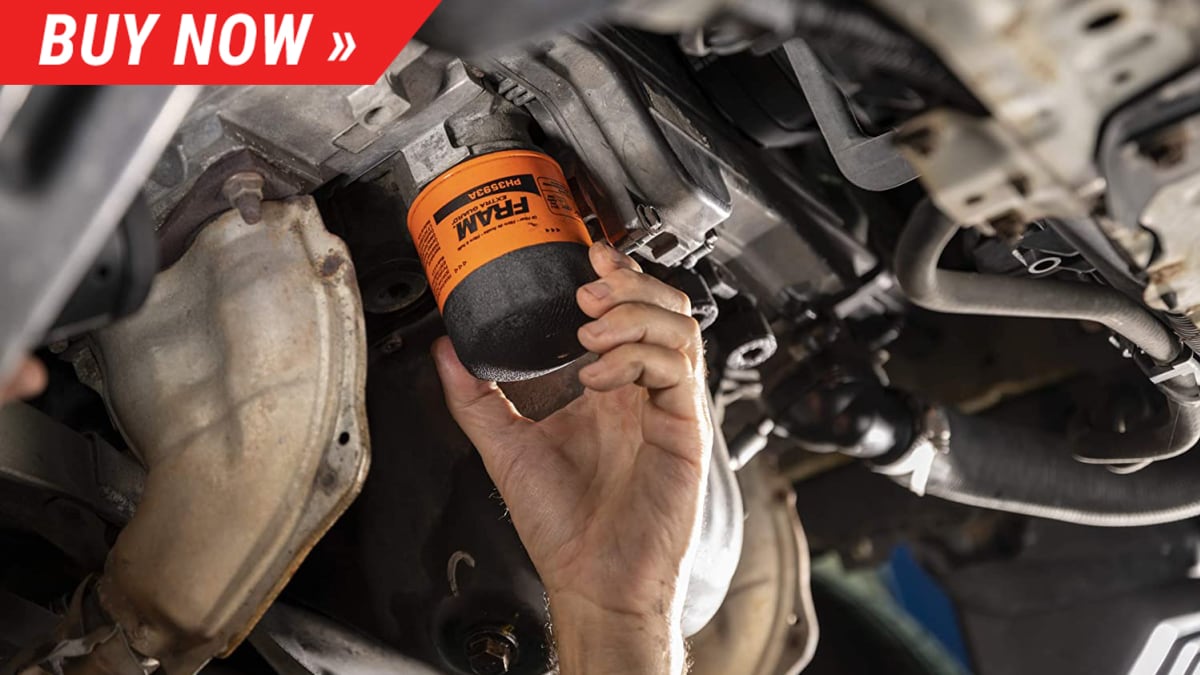
This is another piece of the puzzle that you’ll have to look up in your owner’s manual. Luckily, this information usually isn’t too tough to find. Once you know what kind of filter you need, you can look for one on Amazon, and for an extra feeling of security that you’re picking up something compatible, you can use Amazon’s handy “Select Your Vehicle” feature to enter your year, make, and model, to ensure that what you’re about to buy will work with your vehicle. You can find a wide selection of oil filters right here.
40 Pieces – EPAuto 1/4-Inch & 3/8-Inch Drive Socket Set with 72 Tooth Reversible Ratchet – $22.97 at Amazon.com
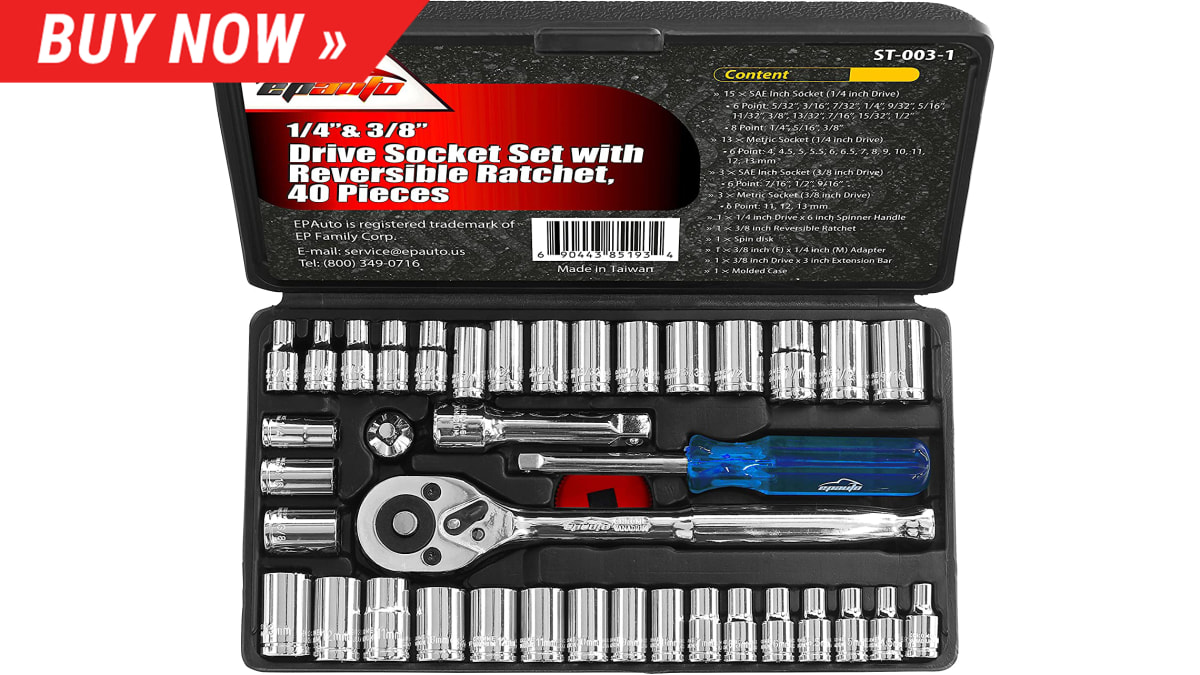
Many of us already have a ratchet set in the garage, but just in case you don’t, this is an affordable 40-piece beginner’s set that should be more than enough to get you started. This set comes with both a 1/4″ and 3/8″ drive, which should be applicable to most situations that need some ratcheting. You can check out this set here.
WORKPRO 12″ Adjustable Oil Filter Pliers, Oil Filter Wrench Adjustable Oil Filter Removal Tool – $9.99 at Amazon.com
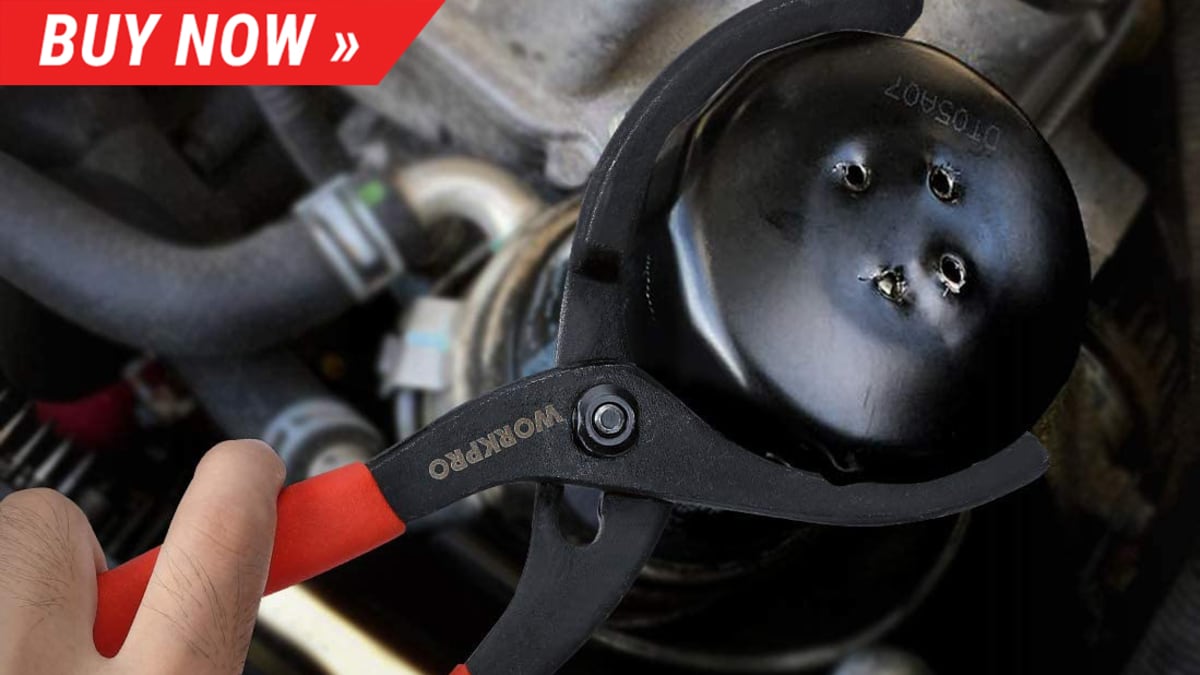
An oil filter wrench is pretty tough to go wrong on. We found this perfectly suitable option on Amazon for less than 10 bucks. You can check it out right here.
Anti Splash Oil Drain Pan – $17.89 at Amazon.com
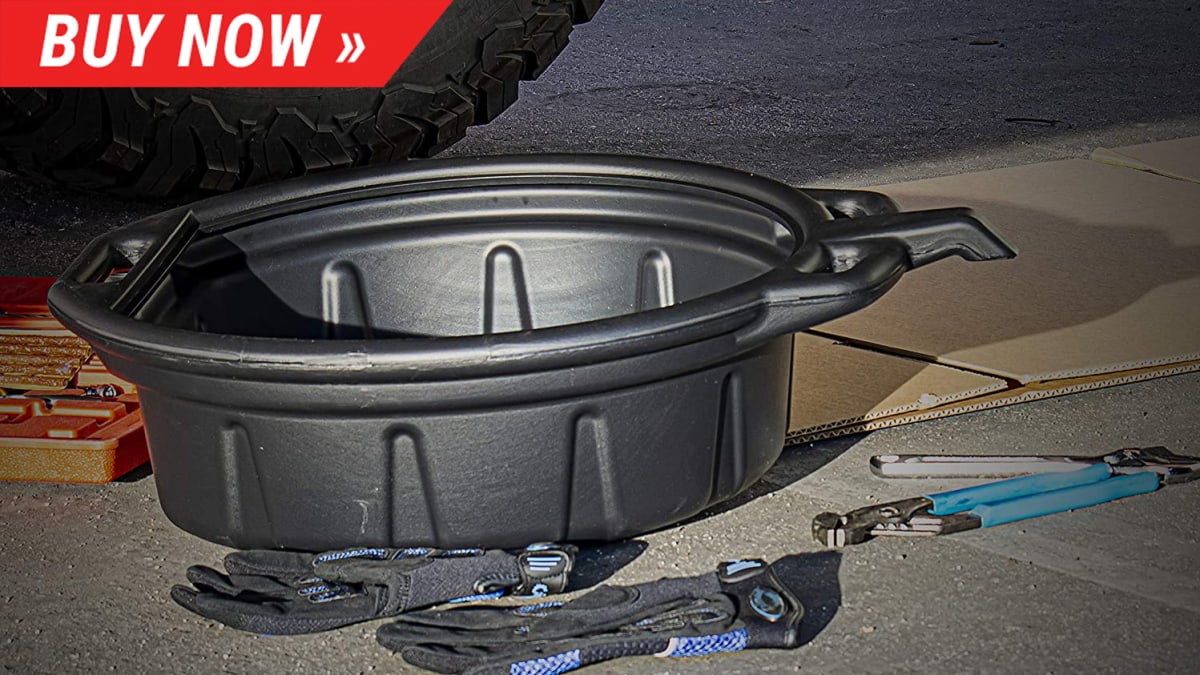
Don’t have a drain pan? You can pretty much use anything you want to catch the oil, but we recommend finding something that won’t splash and make a mess! This high-sided pan should be everything you’ll likely need, and it can be picked up for $17.89 right here.
Radians Clear Safety Glasses, Scratch-Resistant, Wraparound, One Size – $1.74 (27% off) at Amazon.com
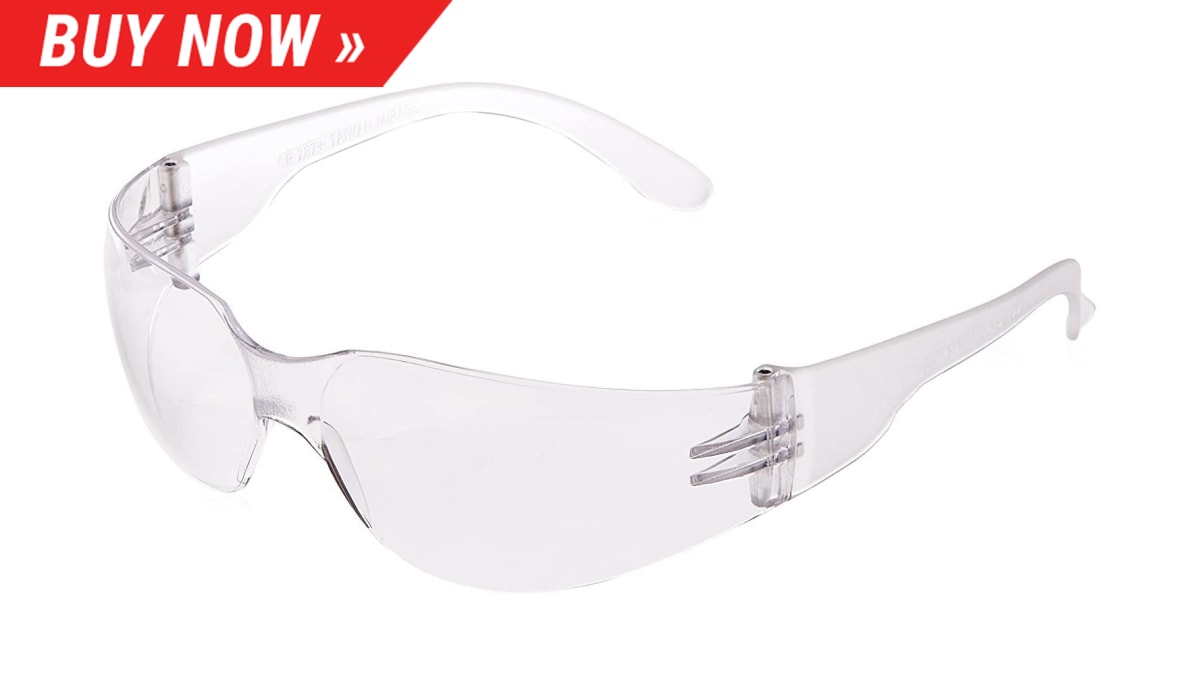
We’ve included this super affordable option for safety glasses here, but really, brands aren’t so important in this area, just make sure your eyes are protected! They’re pretty important for this silly little thing called sight, you know. Don’t be the guy or gal who is too cool for safety gear. If you don’t already have a pair around the house, this pair literally costs less than a cup of coffee. There’s no excuse to not be protecting your eyes. You can learn more about this pair of safety glasses here.
AMMEX X3 Industrial Black Nitrile Gloves, Box of 100 – $16.25
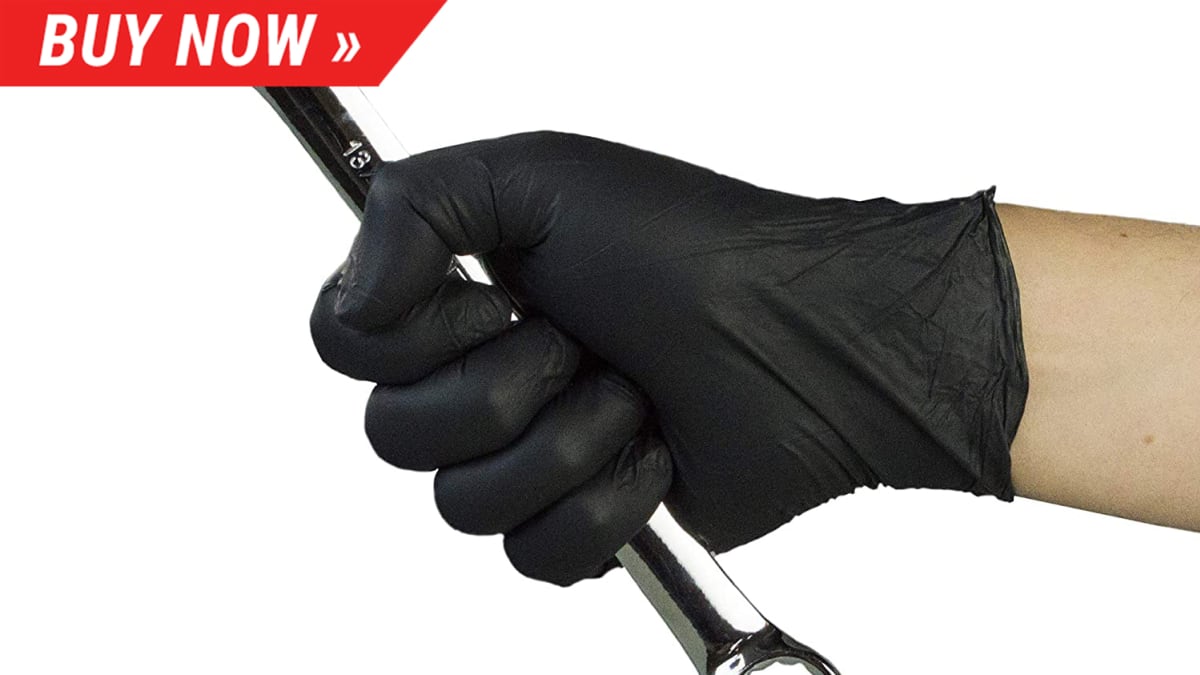
Yet again, we’ve come up against a case of “the best gloves are the ones you already have in your garage.” There’s nothing particularly specific you should be looking for here, the gloves are mostly just to keep your hands clean. Washing motor oil off of your hands is not a super fun experience, so we’d suggest trying to avoid it if possible. If you need some new gloves, though, you can grab this pack of 100 right here.
AmazonBasics Blue, White, and Yellow Microfiber Cleaning Cloth – Pack of 24 – $13.90 (10% off) at Amazon.com

Last but not least, one of the most important parts of an oil change is the ever-important “rag.” Admittedly, these microfiber towels are a bit nicer than your standard rag, but at $13.90 for a 24-pack, now is as good a time as any to upgrade and get a few of these bad boys to keep around the garage. They’ll come in handy for a whole lot more than just oil changes.
Instructions:
First, check your owner’s manual to see what type of oil your car needs and how much oil it takes. You don’t want to put in too much or too little of the wrong viscosity oil. Once that’s done, visit an auto parts store to buy the oil, filter, a catch can large enough to hold all the old oil and any other tools, or pick them up online. The parts store should be able to help you find what type of filter you need.
Safety is key, so be sure to wear both gloves and glasses. If you’re using jack stands or a ramp, chock the tires and set the parking brake. If a car’s been running, the oil will be hot. A warm engine is fine, but a hot engine can cause burns. Let the car sit for a bit before you start draining, that way you don’t burn yourself on scalding hot engine oil.
Once you’re ready to start, open the filler cap at the top of the engine. That will help the oil drain quicker. Underneath, line up the catch can beneath the oil drain plug. Keep in mind that the oil might flow out at a slight angle. Loosen the drain plug about halfway using a ratchet. Finish unscrewing the drain plug by hand, quickly removing the bolt at the very end. Clean the drain plug with brake cleaner in order to remove any metal or contaminants that may have collected there.
After the oil has completely drained, add a new crush washer to the drain plug and screw it back in by hand until tight, finishing with a ratchet. Once it’s snug, give the plug another half turn, but not more than that. Use rags to wipe off the bottom of the oil pan and the area around the drain plug.
Next, find the old oil filter. Remove it by hand or, if needed, using an oil-filter wrench. Be careful toward the end, keeping the filter upright. It will still be full of old oil. Before you install the new filter, rub a light ring of new oil around the filter’s o-ring. It’s also a good idea to pre-fill the new filter with fresh, clean oil. That way, oil can get to the engine’s bearings and other parts quicker. Reinstall the filter, tightening it by hand. Do not use a wrench to tighten it.
The next step is to add the new oil to the top of the engine. Use a funnel to keep the oil from spilling all over. Also, double check to make sure you’re putting in the correct amount of the right type of oil. If you spin the bottle to the side or upside-down, it will actually pour easier and with less blubbing.
Once the proper amount of oil has been poured, close the cap and start the vehicle for five minutes to allow the fresh oil to circulate in the system. Look for leaks. Turn the car off and make sure the vehicle is perfectly level or off the jack stands before checking the dipstick. You want the reading to be correct and even.
Pull the stick and clean off the excess oil with a rag. Re-insert the dipstick, making sure it’s completely compressed before removing it again and checking the level. There’s typically a low and a high indicator on the stick. Try to keep the oil up to, but not above the high marker.
Be sure to dispose of the used oil by collecting it in old bottles, juice jugs, or water containers and bring them to your local auto parts store, mechanics shop, or recycling center. Do not just toss the jugs or containers into a trash can.
You can watch the entire process in the video at the top of this story.


